jeepsr4ever
Instructions will be posted here as well as a hard copy to you folks assembling your CNC gantry kits. We will be updating with more info frequently
[IMG]http://i2.photobucket.com/albums/y29/bulltear/gantryi1.jpg[/IMG]
[IMG]http://i2.photobucket.com/albums/y29/bulltear/gantryi2.jpg[/IMG]
jeepsr4ever
[IMG]http://i2.photobucket.com/albums/y29/bulltear/gantryi3b.jpg[/IMG]
[IMG]http://i2.photobucket.com/albums/y29/bulltear/gantryi3.jpg[/IMG]
jeepsr4ever
[IMG]http://i2.photobucket.com/albums/y29/bulltear/gantryi8.jpg[/IMG]
jeepsr4ever
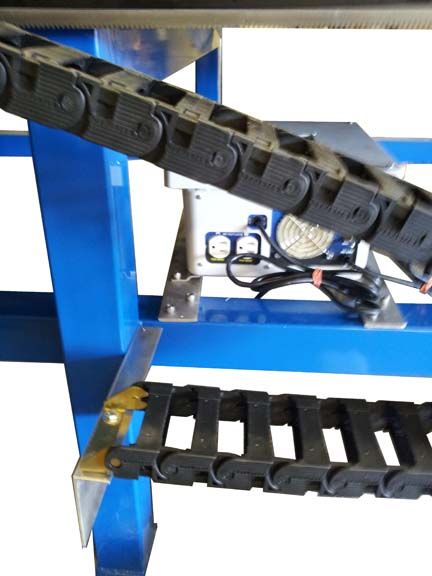
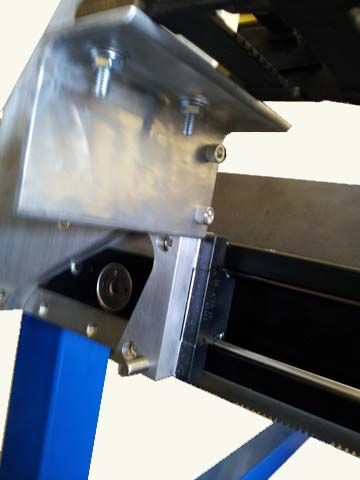
Here is how your end should look on the side of the gantry
[IMG]http://i2.photobucket.com/albums/y29/bulltear/cablecar.jpg[/IMG]
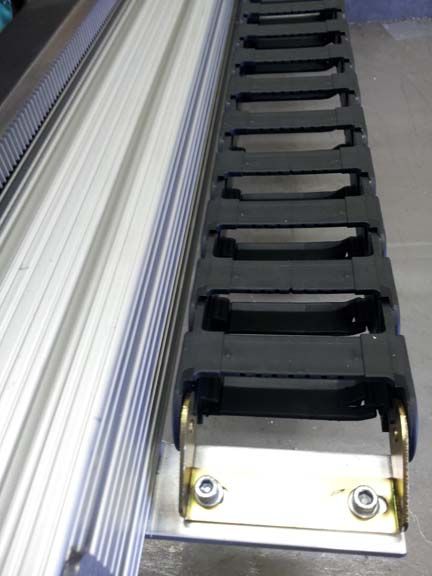
Here is how we attach cable carrier. This is done by cutting a piece of aluminum angle and drilling and tapping the side of the thick 3/4" thick sideplate for the cable carrier ends.
[IMG]http://i2.photobucket.com/albums/y29/bulltear/cablecar1.jpg[/IMG]
Here we are attaching the other side of the cable carrier to the side of the center support on the table. Not how the box is mounted using angle aluminum with 3" of one side of the angle cut off and the other side bolted to the frame (mount control box under table or anywhere that dripping water will not destroy the box.
[IMG]http://i2.photobucket.com/albums/y29/bulltear/cablecar2.jpg[/IMG]