Mav68erick
yeah its humid in my area in Michigan, I cant imagine what its like down south. Im sick of being at work and my ass feeling like a slip and slide.
wickedinhere
Yeah you can cut the air with a knife.
Mav68erick
[IMG]http://i145.photobucket.com/albums/r217/Mav68erick/Plasma/286740_1945122397143_1515019645_31806650_3983852_o.jpg[/IMG]
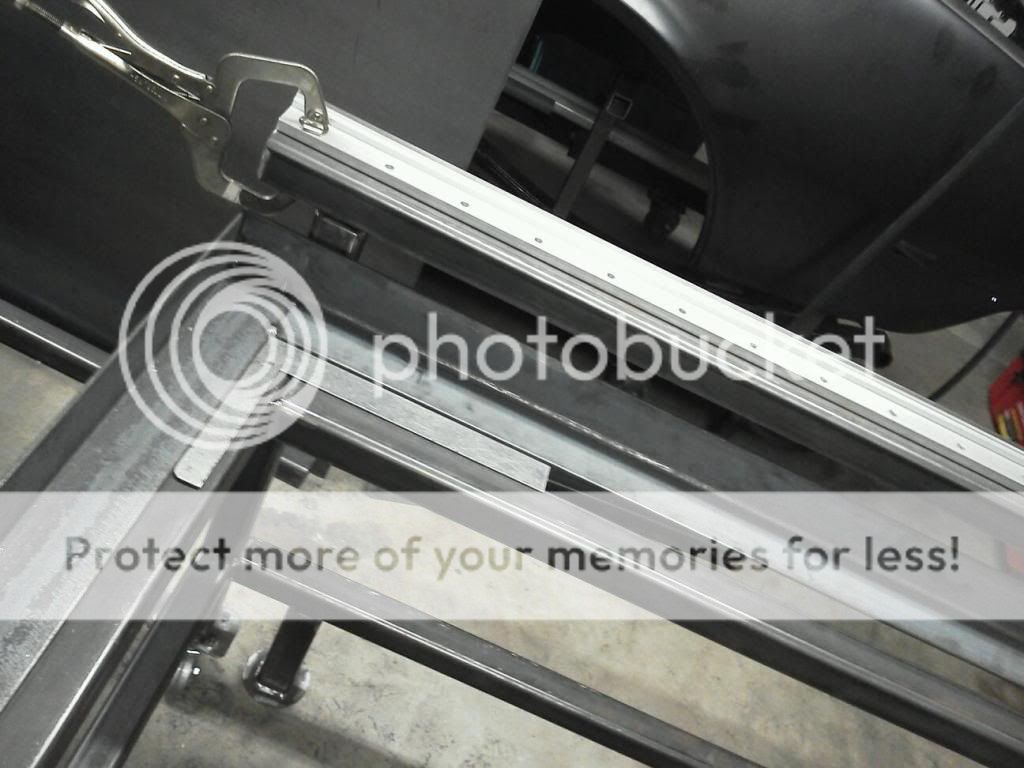
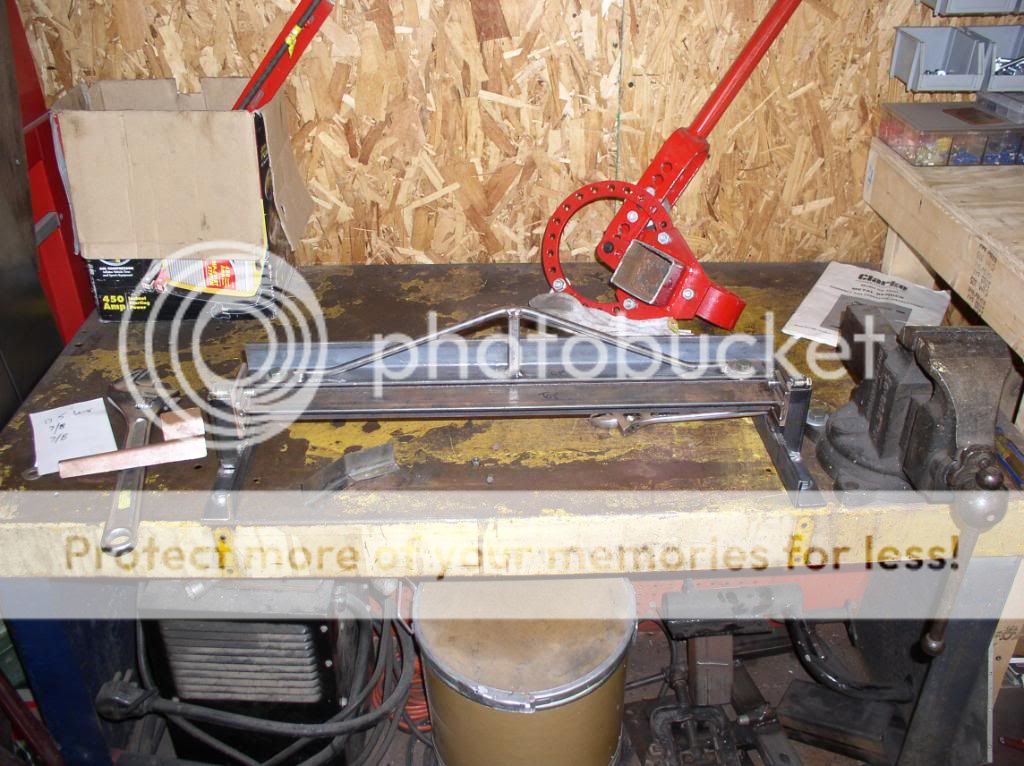
Wish I had this before, I made a little sheet metal brake to bend a piece of 16g to fix my a pillar that I Cut out on my camaro, it worked was less then 30 bucks, didnt work as well as I wanted, it mostly needs gusseted to strengthen the angle iron. Couple crescent wrenches for handles and wammo.
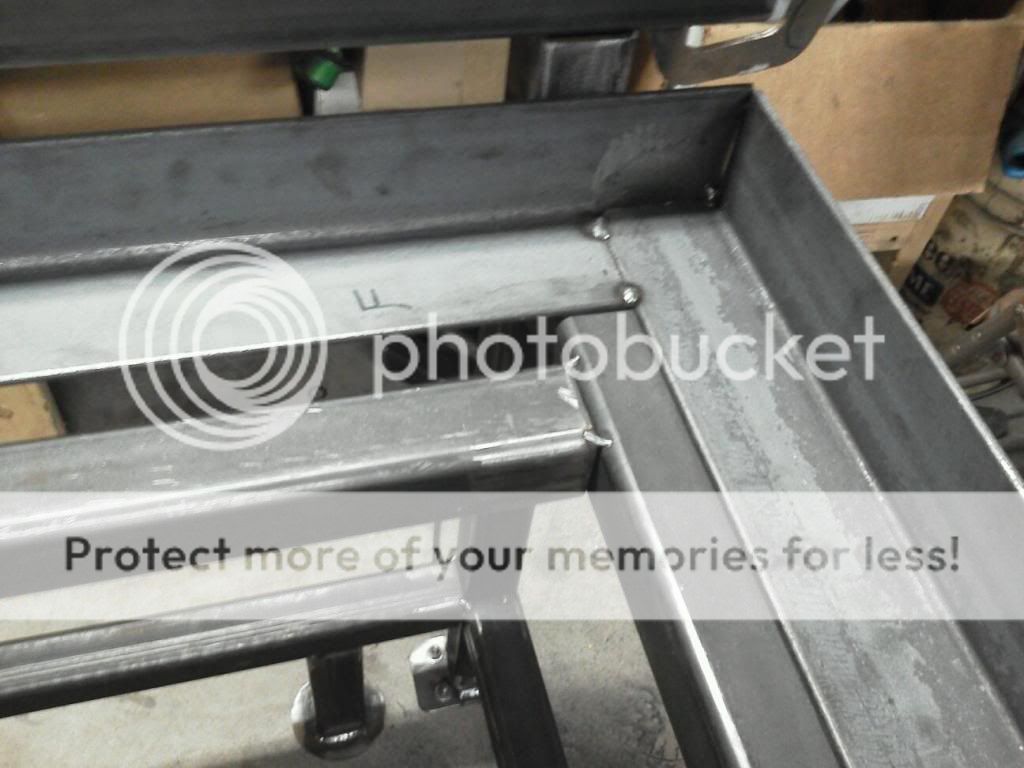
the clecos were just to line it up, it bolted together and shimmed for mat. thickness
[IMG]http://i145.photobucket.com/albums/r217/Mav68erick/Sheet%20Metal%20Brake/P1010065.jpg[/IMG]
[IMG]http://i145.photobucket.com/albums/r217/Mav68erick/Sheet%20Metal%20Brake/P1010061.jpg[/IMG]
[IMG]http://i145.photobucket.com/albums/r217/Mav68erick/Sheet%20Metal%20Brake/P1010071.jpg[/IMG]
[IMG]http://i145.photobucket.com/albums/r217/Mav68erick/Sheet%20Metal%20Brake/P1010070.jpg[/IMG]
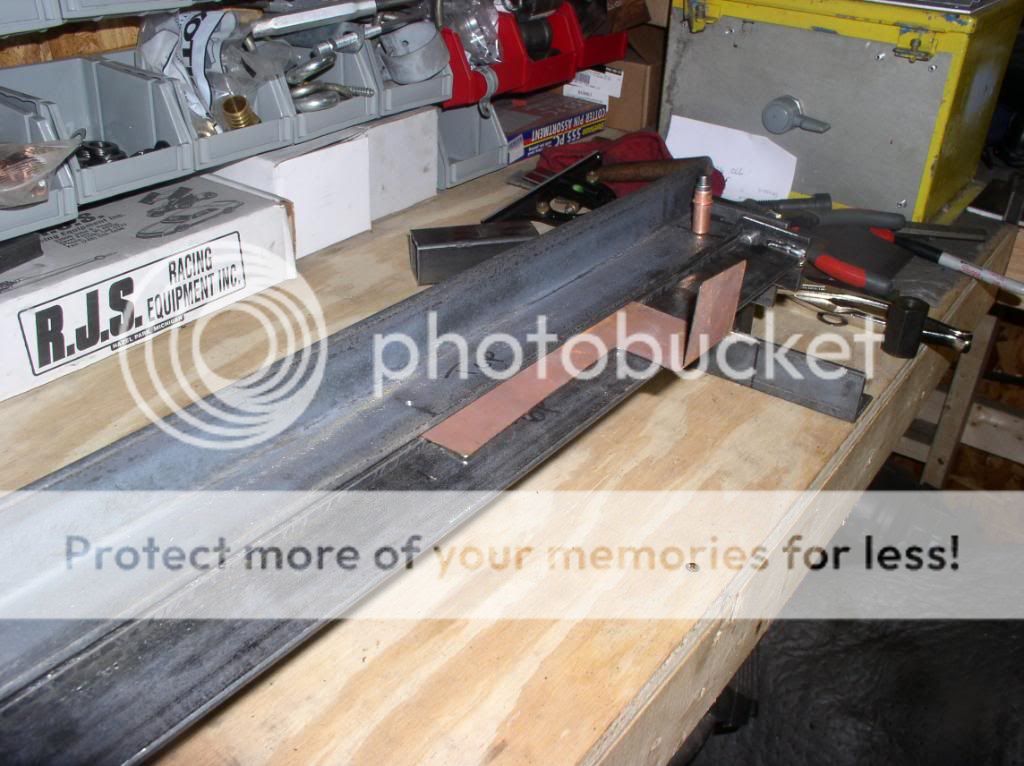
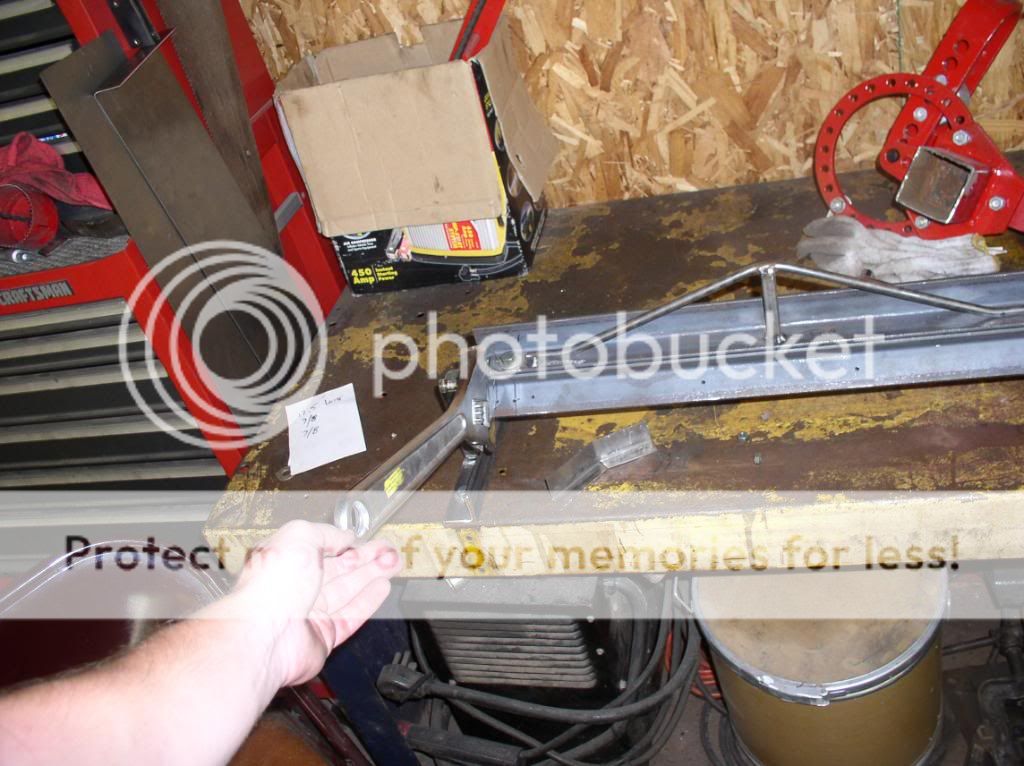
this style gusset as seen on other brakes and shears, didnt work as I thought.
[IMG]http://i145.photobucket.com/albums/r217/Mav68erick/Sheet%20Metal%20Brake/P1010069.jpg[/IMG]
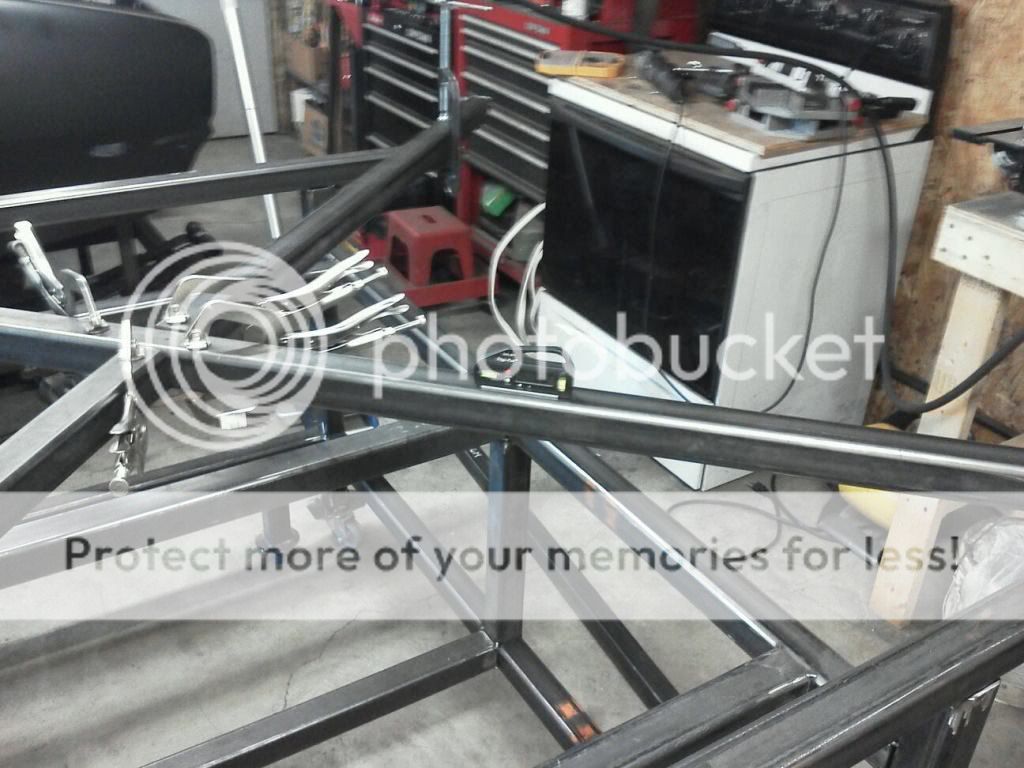
Im bored its hot and raining so thought id share some stuff I did when I was laid off last year.
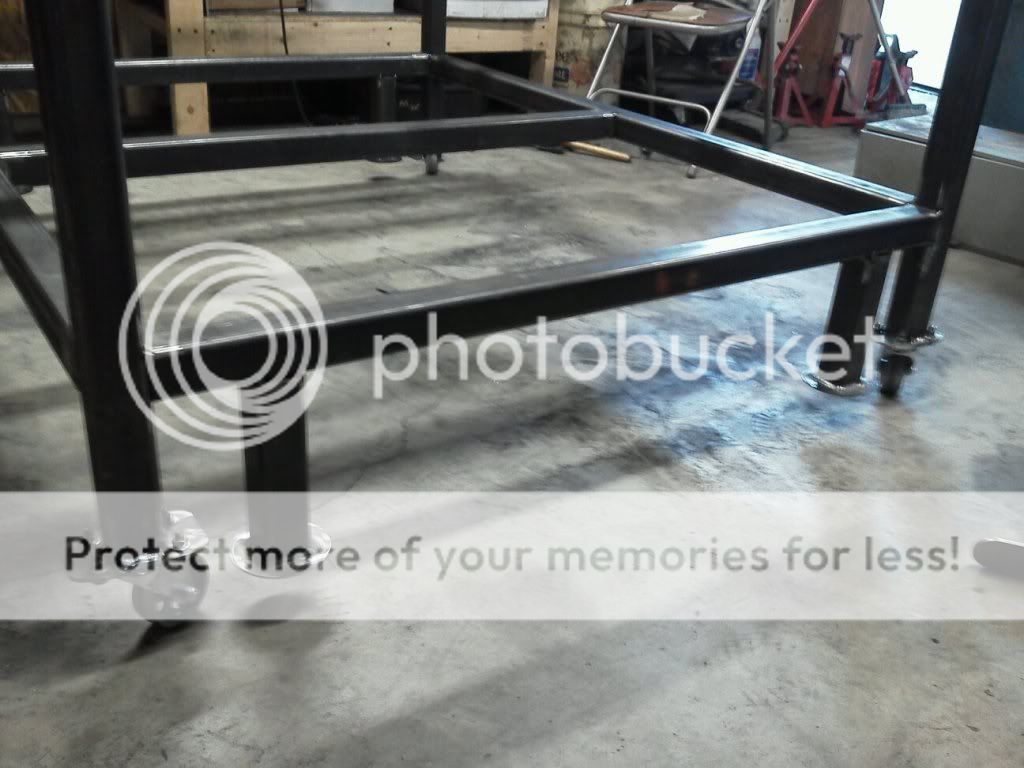
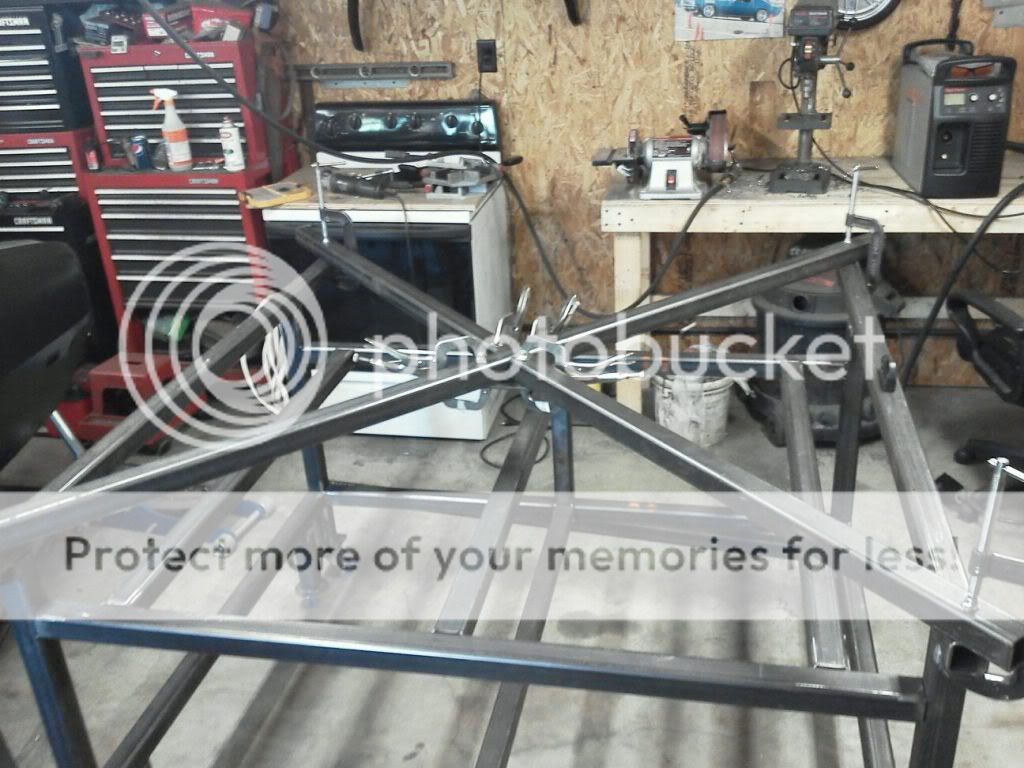
Heres a buildup of the jig I built to redo my basket case camaro. I dont even wanna remember how long I measured remeasured and remeasured all the pin locations for the factory locations and then re checked before I started to weld panels together. I was going crazy worrying how stuff was gonna line up in the end.
[url]http://s145.photobucket.com/albums/r217/Mav68erick/BodyJigV2/[/url]
some build up photos after the jig was complete
[url]http://s145.photobucket.com/albums/r217/Mav68erick/Build%20Up/[/url]
Im pretty much stuck on the build, the 1/4 panels fit like ass around the tail panel, I fudged my way this far, but its out of my comfort zone to cut tweak body panels on the outside, I may have someone do the 1/4s and roof so far most every thing has been plug welding and thats ez. Im no body guy and I dont wanna spend a lot of time screwing up this taiwanese panels. I may look into buying a better set they just get expensive between the panels and the shipping = /. Either way Ive saved my self alot of money taking it this far myself. Not bad for a 26yr old know it all = )
wickedinhere
Man you got some work in that car, nice jig. I have a 68 ford f-100 i am working on and everytime i touch it i find more rust.
Mav68erick
I made my leveling legs / Feet. And drilled mounted my casters and welding them to the 4 legs original to the table. You can really tell how uneven the floor is with casters on, it was real noticeable with my car since the casters were 4ft and 7 ft apart. Now I gotta get a dam 3/4 tap to run through the 3/4 nuts I welded on the inside of a plate that got welded to some 2x2 that comes off the bottom of the 44" long bars. when I welded them I left the bolt in them cooled em off and threaded them in and out, I think I cross threaded the first thread because now 2 of them dont go in smoothly, or its just because the hole before the nut doesnt have alot of clearance. it was the last one I went to put in that was bad, so I checked it in another one and think I messes that one up with the bolt I screwed up in the last nut. Dee da dee.
Mav68erick
well tractor supply had 3/4 taps but closed at 6... and no one opened had anything bigger then 1/2. Oh well Ill get one tomorrow and go to the machining store and get a couple good 1/4 20 machine taps, gotta go to that end of town to get some o rings for my filters one of them is leaking air after I checked it a few weeks ago and the rings bad.
I may cut out the 2 44" rails that support the water table and move them farther out, so I can add 2 more back vertical supports under them like the middle. then mirror that to the front minus the middle. then you could add angel and make shelving to lay 4' wide sheets. atm its exactly 48" think I need to move them 1/2 farther out just for wiggle room.
[IMG]http://i145.photobucket.com/albums/r217/Mav68erick/Plasma/plasmalatest.jpg[/IMG]
Already had these round cutouts, laser slugs from old job, didnt wanna bother cutting any 2" wide stock. Even drilled a hole in one and plug welded the head of a 3/4 bolt to it, but didnt bother doing the other 3 it was getting hot.
[IMG]http://i145.photobucket.com/albums/r217/Mav68erick/Plasma/plasmafeet.jpg[/IMG]
wickedinhere
Looks good the only thing i would do is add some rubber or non skid material to the bottom of your leveling legs. I did that to mine because when level one of my castors are off the concrete and i was scared that when the gantry moves the table would move around.
wickedinhere
Got my call today how about you?
Mav68erick
Not unless they called at home cant remember if I left home number when I ordered. Bummed. People get my angle for the water tray to start on
Mav68erick
deleted deleted deleted
jeepsr4ever
Yours says out for delivery. You wanted this shipped to a terminal correct? They will be calling you before days end. There are also UPS boxes coming your way with hardware, slats and cable carrier.
Mav68erick
Just got the call, hope I wasnt to offensive I get mad easily and had a crappy day. Im just to impatient, getting a call so late wasnt something I expected. OMW to pick it up now
Mav68erick
did the z axis torch carrier change? it looks like the one in the picture, but is different from creepys build. It has a switch already mounted in it, and an anodized black part with 45* out of the corners that rides on the z threaded rod. is that the Torch height switch after it touches off? or is there more parts for the z Axis in the ups shipment.
And did anyone notice the gear rack is double sided taped to the aluminum? seems kinda scary specially here since its so humid id be worried it will move or start to side to side when the motor turns on it, or does no one have issues with this? I seen creepys style was welded on I wiggled the edge alittle, maybe it will help since it gives a little no real lash issues but I dunno
jeepsr4ever
That is the finer action Z axis. The two bottom poles on the limit switch are the ones you solder to and wire for torch height touch off. The tape will actually help with backlash and cushion the gear. We have been using it for more than a year now with zero failures even when using a 1/2" wide rack and routing heavily. Fear not :D We even had a machine get flipped over by the trucking company...bent the motor shaft and destroyed the gear but didnt budge the gear rack.
Mav68erick
I like the look and the switch on my z axis pretty nice set up.I think creepy said it in his post the roller bearings that guide in the v rail already being half assembled is bad, some of the hardware fell off, and since mine gantry wasnt boxed fully just framed with 2 x 4s there gone, its no big deal shit happens. I opened up one box and seen the xbox controler pretty sweet you tossed that in. I was looking at amazon at the wireless set up but pretty cool you send a pendent with it. I was even looking at the original Nintendo NES usb controllers online and though that would be funny to use = )
So glad I watched the torchmate video on the 2 x 2 and seen they had a link to pirate and then was browsing through the tool shop forum = P plus I think someone name dropped bulltear on there to. ( This is subject to change If It works like poo, but Im sure it wont, im just excited atm. )
It does look like Ill have some time invested in square up the X rails to later on, but no sense in thinking about that til I finish welding table, the biggest decsion atm is what color to paint it!
[IMG]http://i145.photobucket.com/albums/r217/Mav68erick/Plasma/289637_1949225099708_1515019645_31812160_3742602_o.jpg[/IMG]
[IMG]http://i145.photobucket.com/albums/r217/Mav68erick/Plasma/289386_1949224099683_1515019645_31812158_914410_o.jpg[/IMG]
[IMG]http://i145.photobucket.com/albums/r217/Mav68erick/Plasma/286274_1949224699698_1515019645_31812159_4679530_o.jpg[/IMG]
[IMG]http://i145.photobucket.com/albums/r217/Mav68erick/Plasma/175793_1949225499718_1515019645_31812161_1162323_o.jpg[/IMG]
Mav68erick
I made my water tray as wide and the distance between my rails so its 55" distance on the inside, and there 56" long, I figured id leave it longer in case I had a big sheet it would help support it, hold more water. I guess if it looks bigger it has to run better somehow in the theory I was thinking at the time I decided to leave it long, but I could be wrong I was sweating really bad at the time.
So now I gotta go back to the steel store and have them take 5' sheet and hopin the cut it square, my inside dimensions 50" x 52" or if they make it 52" x 54" ill just lay it on top of the angle or the angle on top of that and lap seam weld it. and If I do the bottom I can do x % of it and just seam seal the bajesus outta it.
And never having a plasma when I was thinking about notching the angle, I though this is gonna suck if I use the 3" cut off wheels being 3/16 so I notched it with the chop saw first, then fired up the plasma and cut it in the gullet to cut the rest out and then ground what was left flat prolly coulda did better if I flipped it over and straight edged I could cut most the radius out to but it was still faster then the first idea.
Mav68erick
bum bum bum bum.... So did some welding, no matter what you do welding vertical is a pita. Welded my water table frame top and bottom and ground it flush and blended the corners in. Being paraniod as Iam and worrying about things shifting during welded I leveled my table out, both rails 0.0 and the table supports 0.0 Then I laid a bar across both rails 0.0 both ends and the middle. Measured it corner to corner both ways 0.0 and 0.0. So then I decided to brace it as seen in the pictures. dont let the clamps fool you I tack welded it to my gear rack support rails and to the shorter pieces at the center. After I tacked it went back and checked it mostly all 0.0 and some 0.1s. So I labeled where I checked them and wrote it down. I then began to weld and skippng one side to the other not welding more then one spot and letting it cool, every 2-4 welds id go back and check all my points, dam thing never moved at all. I think it was a combination of the X brace and the fact it was 3/16 thick.
Now I dont think im gonna bother welding the bottom the water table support rails are welded on 3 sides and I added an extra I just cant see doing it, not that I cant I guess I could flip it with my brace still on there but Ive welded everything except the bottoms and my top rails to the legs do that tomorrow.
[IMG]http://i145.photobucket.com/albums/r217/Mav68erick/Plasma/288236_1951018744548_1515019645_31813894_156184_o.jpg[/IMG]
[IMG]http://i145.photobucket.com/albums/r217/Mav68erick/Plasma/289594_1951017784524_1515019645_31813893_1219153_o.jpg[/IMG]
[IMG]http://i145.photobucket.com/albums/r217/Mav68erick/Plasma/287193_1951017584519_1515019645_31813892_5027292_o.jpg[/IMG]
The levels only measures in tenths of a degree, should spent 10 dollars more when I bought it and got the .5 a tenth one. Id prolly drive my self crazy using that one. If it says .1 and I tap it and it bounces to 0, I usually assume its around .05* and to be honest the bubble in the level looks centerd, but .1 degree off over a 12 foot span is .2513 so a quarter of an inch, when I made my car jig it was all 0.0 except 1 half of the 11ft rail twisted down .1 and was about 3/32 lower then the other 3 corners so I made sure to compensate when I made my raiser support rails. Maybe Im just thinking to much into it = ) I just dont want a headache later trying to square and true up the rails and have binding issues, I know the guys making the torchmate tables have alot of problems even worse the bigger the table the more chance its off
wickedinhere
Man you better weld the bottom of the water table supports cause if you dont the table will never really be finished. LOL
Mav68erick
I really will weld some of the bottoms
Mav68erick
Prolly... dam phone