stepper motor mount hardware did not fit thru. jeez.

this made me nervous.

ah, its not too bad once clamped in the little mill. very easy to drill.
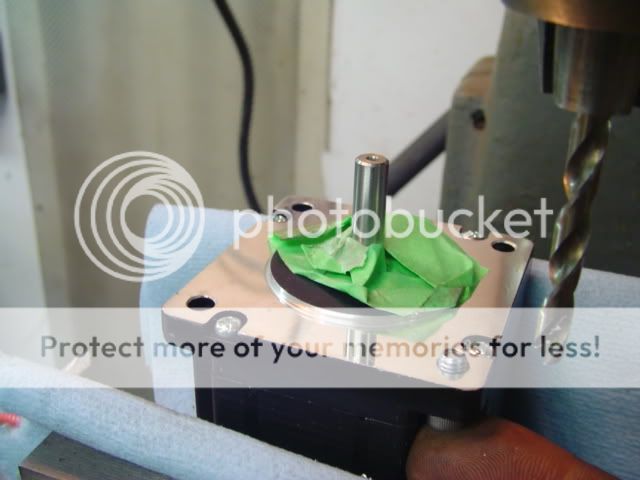
Had to do all 16 holes. (4 in each motor)

I don't understand why these motors have a beautiful micro-finish on the mount surface, yet the mount holes were chewed out by a rat. There were 3 different diameters in each stock hole.
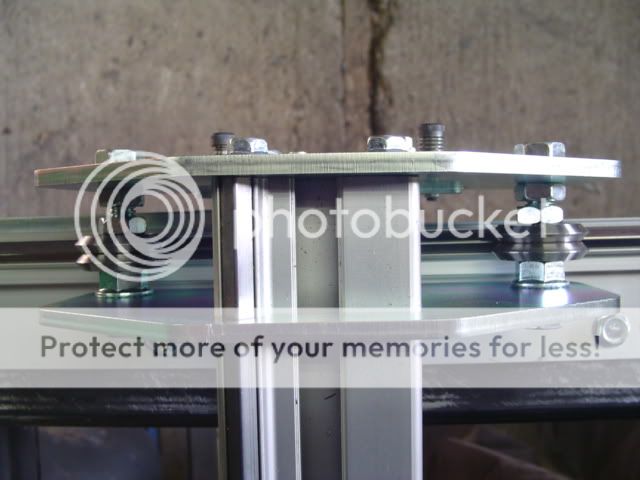
before and after

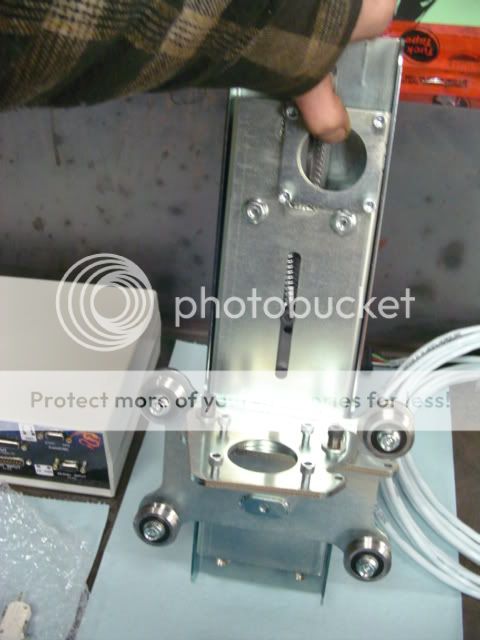
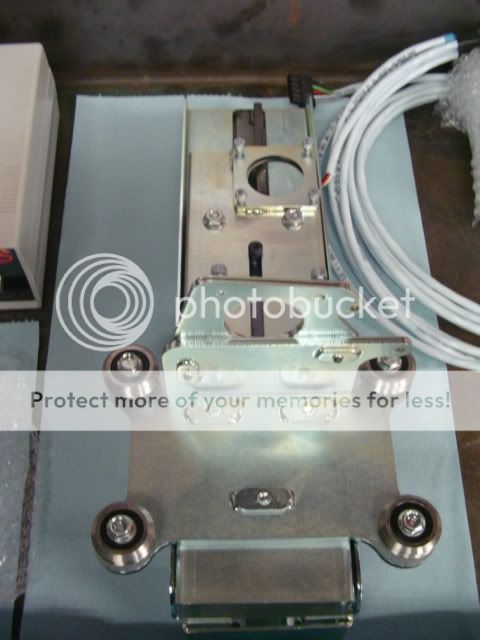
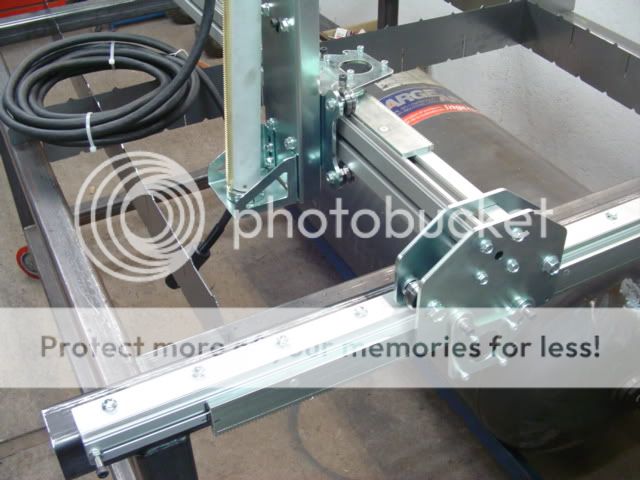
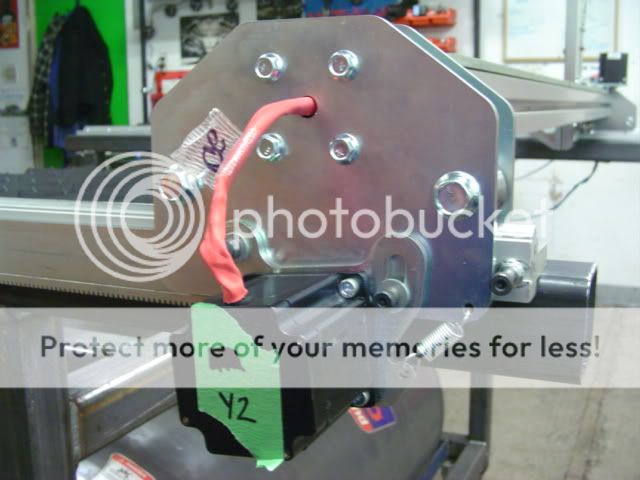
mounting stepper motors
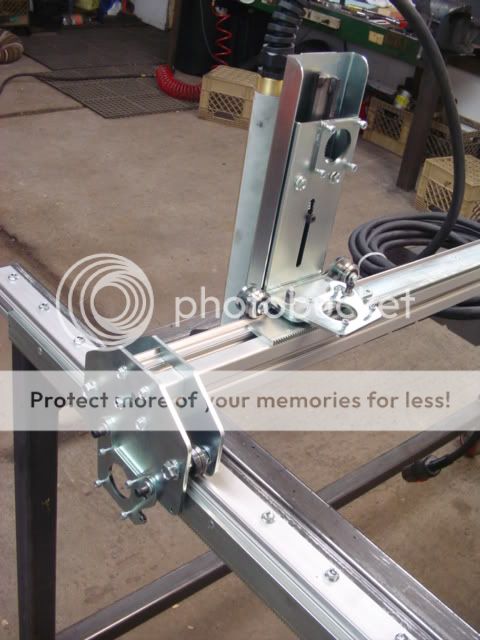
spring for preload.
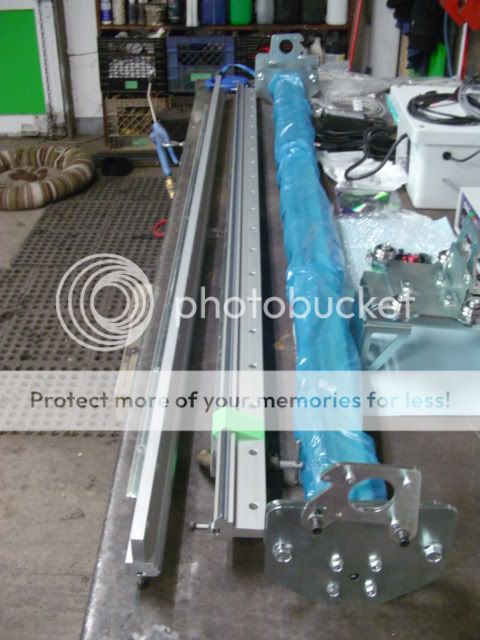
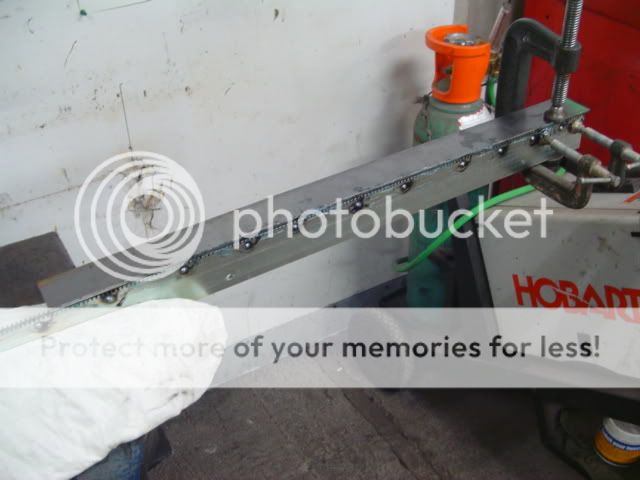
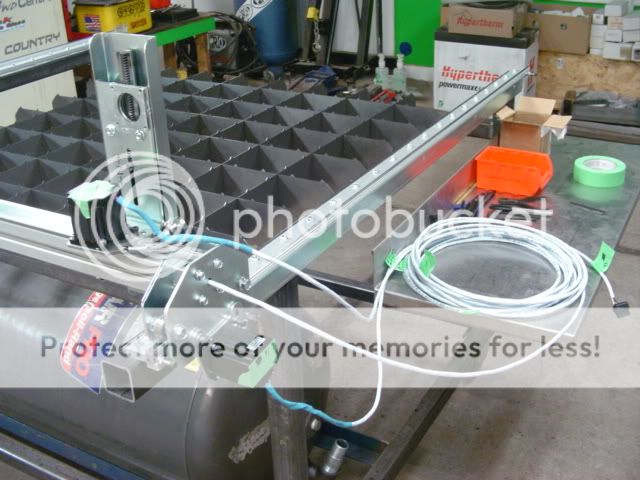
There's that repaired rack. It's fine.

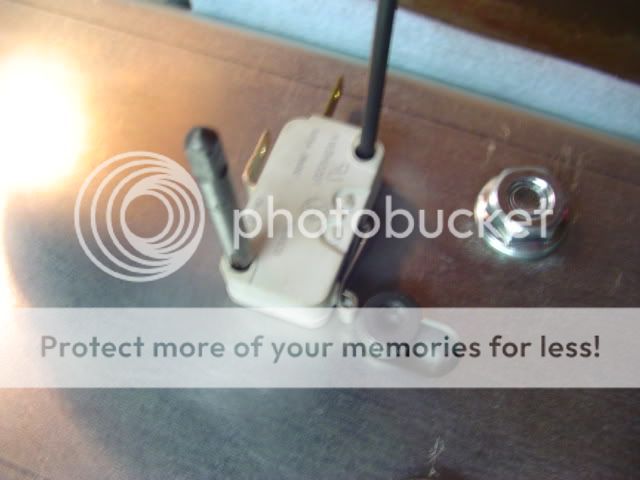
installing Z work height switch.
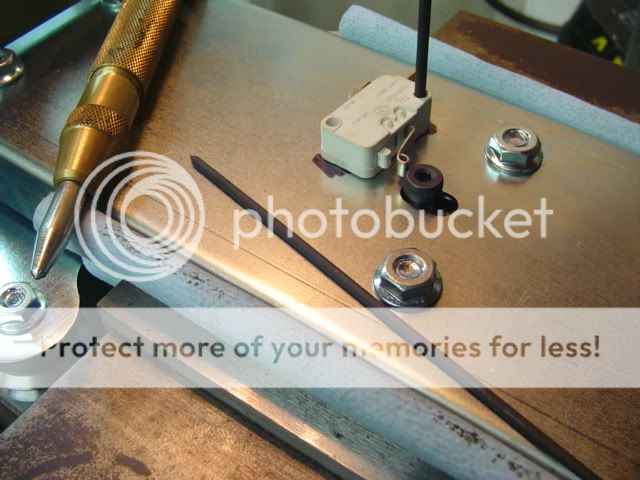
small stuff.
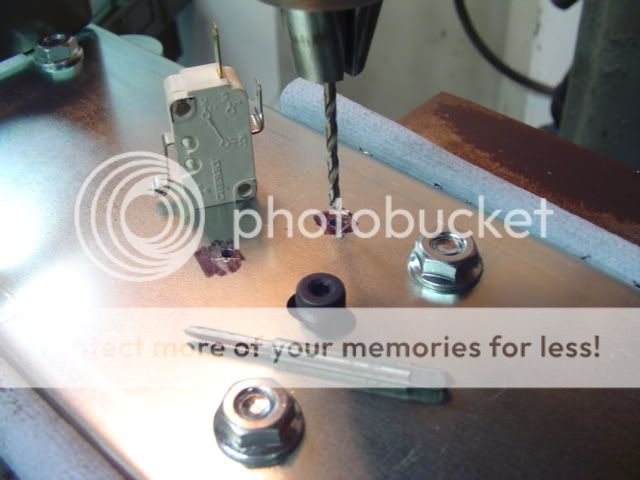
made switch.
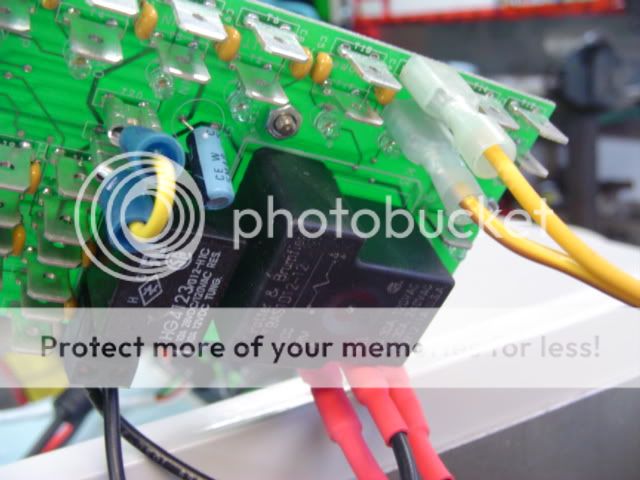
attached switch leads to a board in the power supply.

the brown/yellow ones. I didn't need that trailer harness anyway. 😉
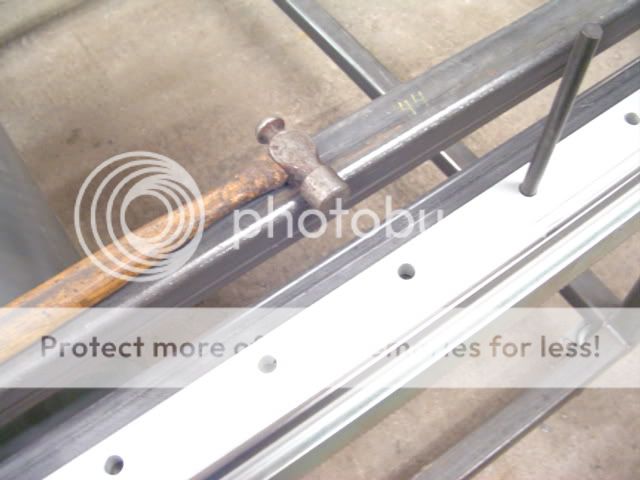
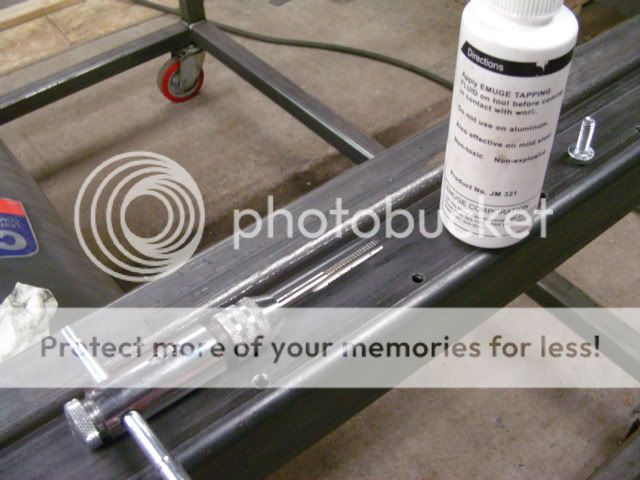
lots of expensive things to drill holes in.

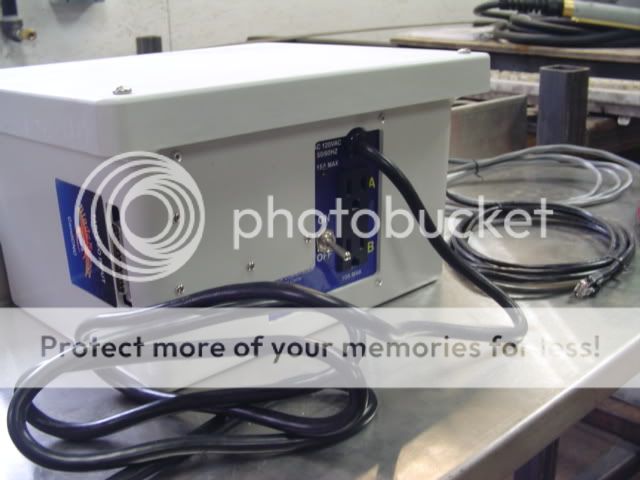
computer system. Clean system by a computer buddy for free, for some parts once running.

the scary side lol

had flakey communication between pc and bladerunner. The LPT1 port screws would not engage. What to do?
Head back to 1939 and cut 'em down to size.

I got a real kick out of this, it was 3am, sorta drunk and really tired.

Take that, computer.
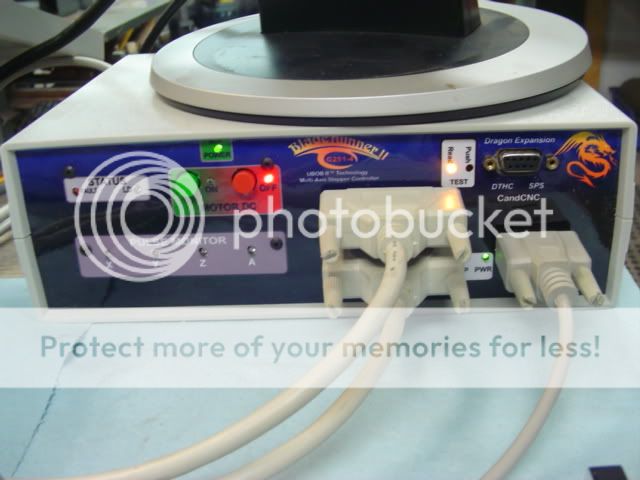
communication is now perfect. 8-)